
I never knew making gluten free sourdough bread was even a possibility, but when I saw a sign in a local bakery, I immediately went online to do a bit of research. It turns out it is the same process as for conventional wheat based sourdough bread, you just replace the wheat flour with gluten free flours. I have only once made my own traditional sourdough bread which turned out alright, but as we have some amazing bakeries around us, I never saw the need to make it myself as the bakery bought ones were just so delicious.
But over the last few months, as I started experimenting with gluten-free alternatives, I had some good and some not so good results, so I was craving for some decent, healthy bread.
Most of the gluten free bread alternatives you can buy either taste weird to me, have this funky spongy texture, contain yeast and, the worst for me, are packaged in single-use plastic which I avoid. So there was little choice than to start making my own bread myself. I went on a mission to find the bread that came closest to what I was used to. Some turned out nice (like a zucchini loaf or banana bread), others were more like bricks and with a strong flavour and taste I did not appreciate. I really can’t deal with paleo-style seed breads, soaking the seeds in water overnight gives them this specific smell and texture that I just can’t stand. I was craving for some decent bread and all my hopes were now on gluten free sourdough bread.
And, OMG, it is amazing! I have only made it once so far and the first loaf was gone in record time. I am really happy with how it turned out. Yeah! 🙂
I am not a person to follow recipes to the dot, and I hope you don’t either with my personal recipe below. Please don’t take it as gospel, but rather experiment and be creative.
In order to make gluten free sourdough, you need to make the starter first and that needs a little bit of patience (give it 5-7 days). The starter needs feeding, a lot of people say 3 times a day at the same intervals, but seriously this is too much effort and unnecessary from my point of view. I fed mine twice a day, once in the morning and once in the evening and it worked as well.
I started with teff flour which I purchased package free at Scoop Wholefoods in Mona Vale. It is a very dark flour and when I mixed it with water it looked like the most delicious chocolate mousse (but wouldn’t taste that great ;)). Then I added what I had: buckwheat, rice and quinoa flours. For every feed you should add about ½ cup of flour and ½ cup of filtered water.
Here is what I did, but please do your own research, follow your gut and just give it a go. J
- Start with ½ cup of teff flour and mix with ½ cup of filtered water in a big open bowl. Stir well, you don’t want to have any clumps.
- Cover with a plate or whatever else you have handy (no cling wrap or foil though as you want the air to circulate and the natural wild yeast to start doing its thing), but leave a gap.
- After 8 hours I added another ½ cup of teff flour and ½ cup of filtered water.
- The next morning I added ½ cup of quinoa flour and ½ cup of filtered water and in the afternoon I saw the first bubbles appear. From this point on I also started to reduce the amount of water as it looked too liquid for me. The dough should be pourable like a cake batter, but also not be too watery.
- Then I added ½ cup of rice flour and some water and t
 his continued for 5 days in total. I mixed it up and alternated between rice, buckwheat and quinoa flour.
 - At some point the mixture had a watery layer on top, apparently this is normal and you just mix it back in. It also starts to get a sourly smell from day two which, again, is normal.
- From day 2 you should see small bubbles and then the dough also starts to rise in between feeds.
- Once the dough rises within 2-3 hours after the last feed you are ready to bake. 🙂 This took 5 days for me, but it was also pretty hot weather and I had about 26 degrees in the kitchen. If it is colder, it is likely to take longer.
This is my recipe for my first sourdough bread and I will surely change it around when I make the next one. This is all part of the game and fun. 🙂
- Take 2 cups of the starter and add 2 cups of gluten free flour of your choice – I added buckwheat and besan / chickpea. Add 1 to 1 ½ cups of filtered water, a handful of chia seeds and 2 table spoons of salt. Mix well with a fork, you don’t want any clumps and ensure that it is like a pourable cake batter and not too thick.
- Fill in a non-stick loaf pan (feel free to grease it) and put in the cold oven for 2-3 hours. During this time the dough should rise by at least one third. Then you are ready to bake.

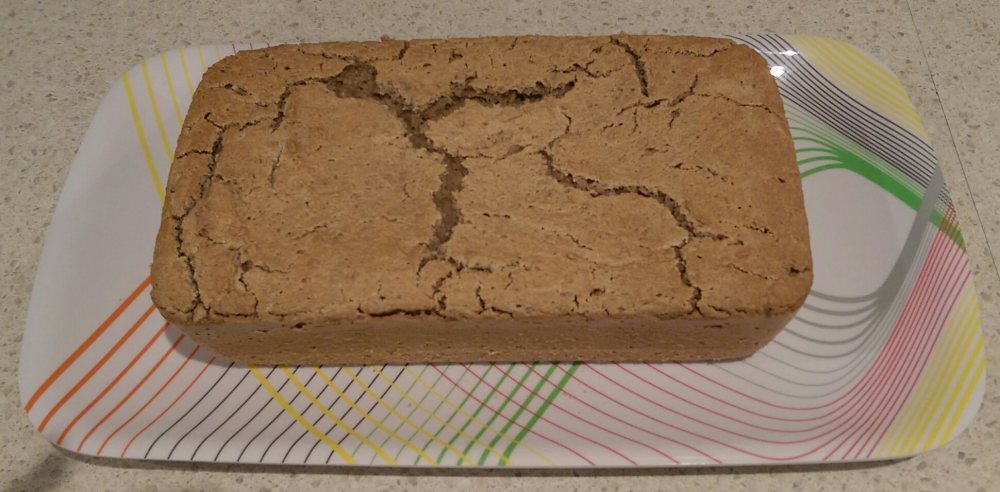
- Heat to 160 degrees fan heat (or 180 degrees conventional) and bake for around 40 minutes. It should get a nice, brown crust during this time.
- Take out of the oven, let cool, remove from the pan, slice and enjoy! 🙂
Next time I’ll use a round pan so it looks like country bread with more crust. As the batter is so thin, you will need to pour it in some sort of container for baking, so go and experiment with whatever takes your fancy. Rolls might work just as well.
If your bread does not turn out well the first time, don’t despair, sourdough is trial and error, so keep it up, mix different flours, add more or less water, give the starter more or less time, … – and you’ll be fine! 🙂
You can keep any remaining starter in the fridge, but if you want to bake again, you will need to nurture it back to its full activity by bringing it back to room temperature and feeding it for a couple of days until it bubbles and rises.
Good luck with your own adventures, please let me know how you go.
