
Have you ever made a Christmas tree yourself? Can you imagine what a pallet Christmas tree looks like? I couldn’t either until today. 😊
Christmas is a time I love. I love the lights, the decorations, beautiful Christmas trees, the peacefulness, baking traditional German Christmas cookies and spending time with friends and family. What I don’t like is the crazy consumerism, Black Friday / Cyber Monday / Whatever sales and shoppers getting into a craze to get the latest bargain and stock up on unnecessary presents.
When we moved recently, we down-sized a little and left a few things behind (‘disposed of’ thoughtfully with friends, op-shops, …). Our Christmas tree was one of the items we didn’t take. When I couldn’t find a tree in the local op shops (as I didn’t want to buy a new one), I looked at what we had to see if anything was suitable to act as a Christmas tree. I found a small wooden pallet that we had used to store our furniture off the floor the last couple of months plus some scrap wood. And an idea was born. Repurposing and Upclycling is so much more fun! 🙂
I only had to buy some paint and wood nails – all in all this project cost me about $15 (if you have spare paint at home, it will be almost free).
What you need:
- A clean wooden pallet

- A sander or sanding paper
- Paint – either spray or in buckets (paintbrush if using liquid paint)
- A hammer
- Wood nails (ideally with a pronounced head – you’ll see why)
- A pencil
- Paper / cover to make sure no paint drips onto the floor
- Some tape to fixate the paper / cover

How you do it:
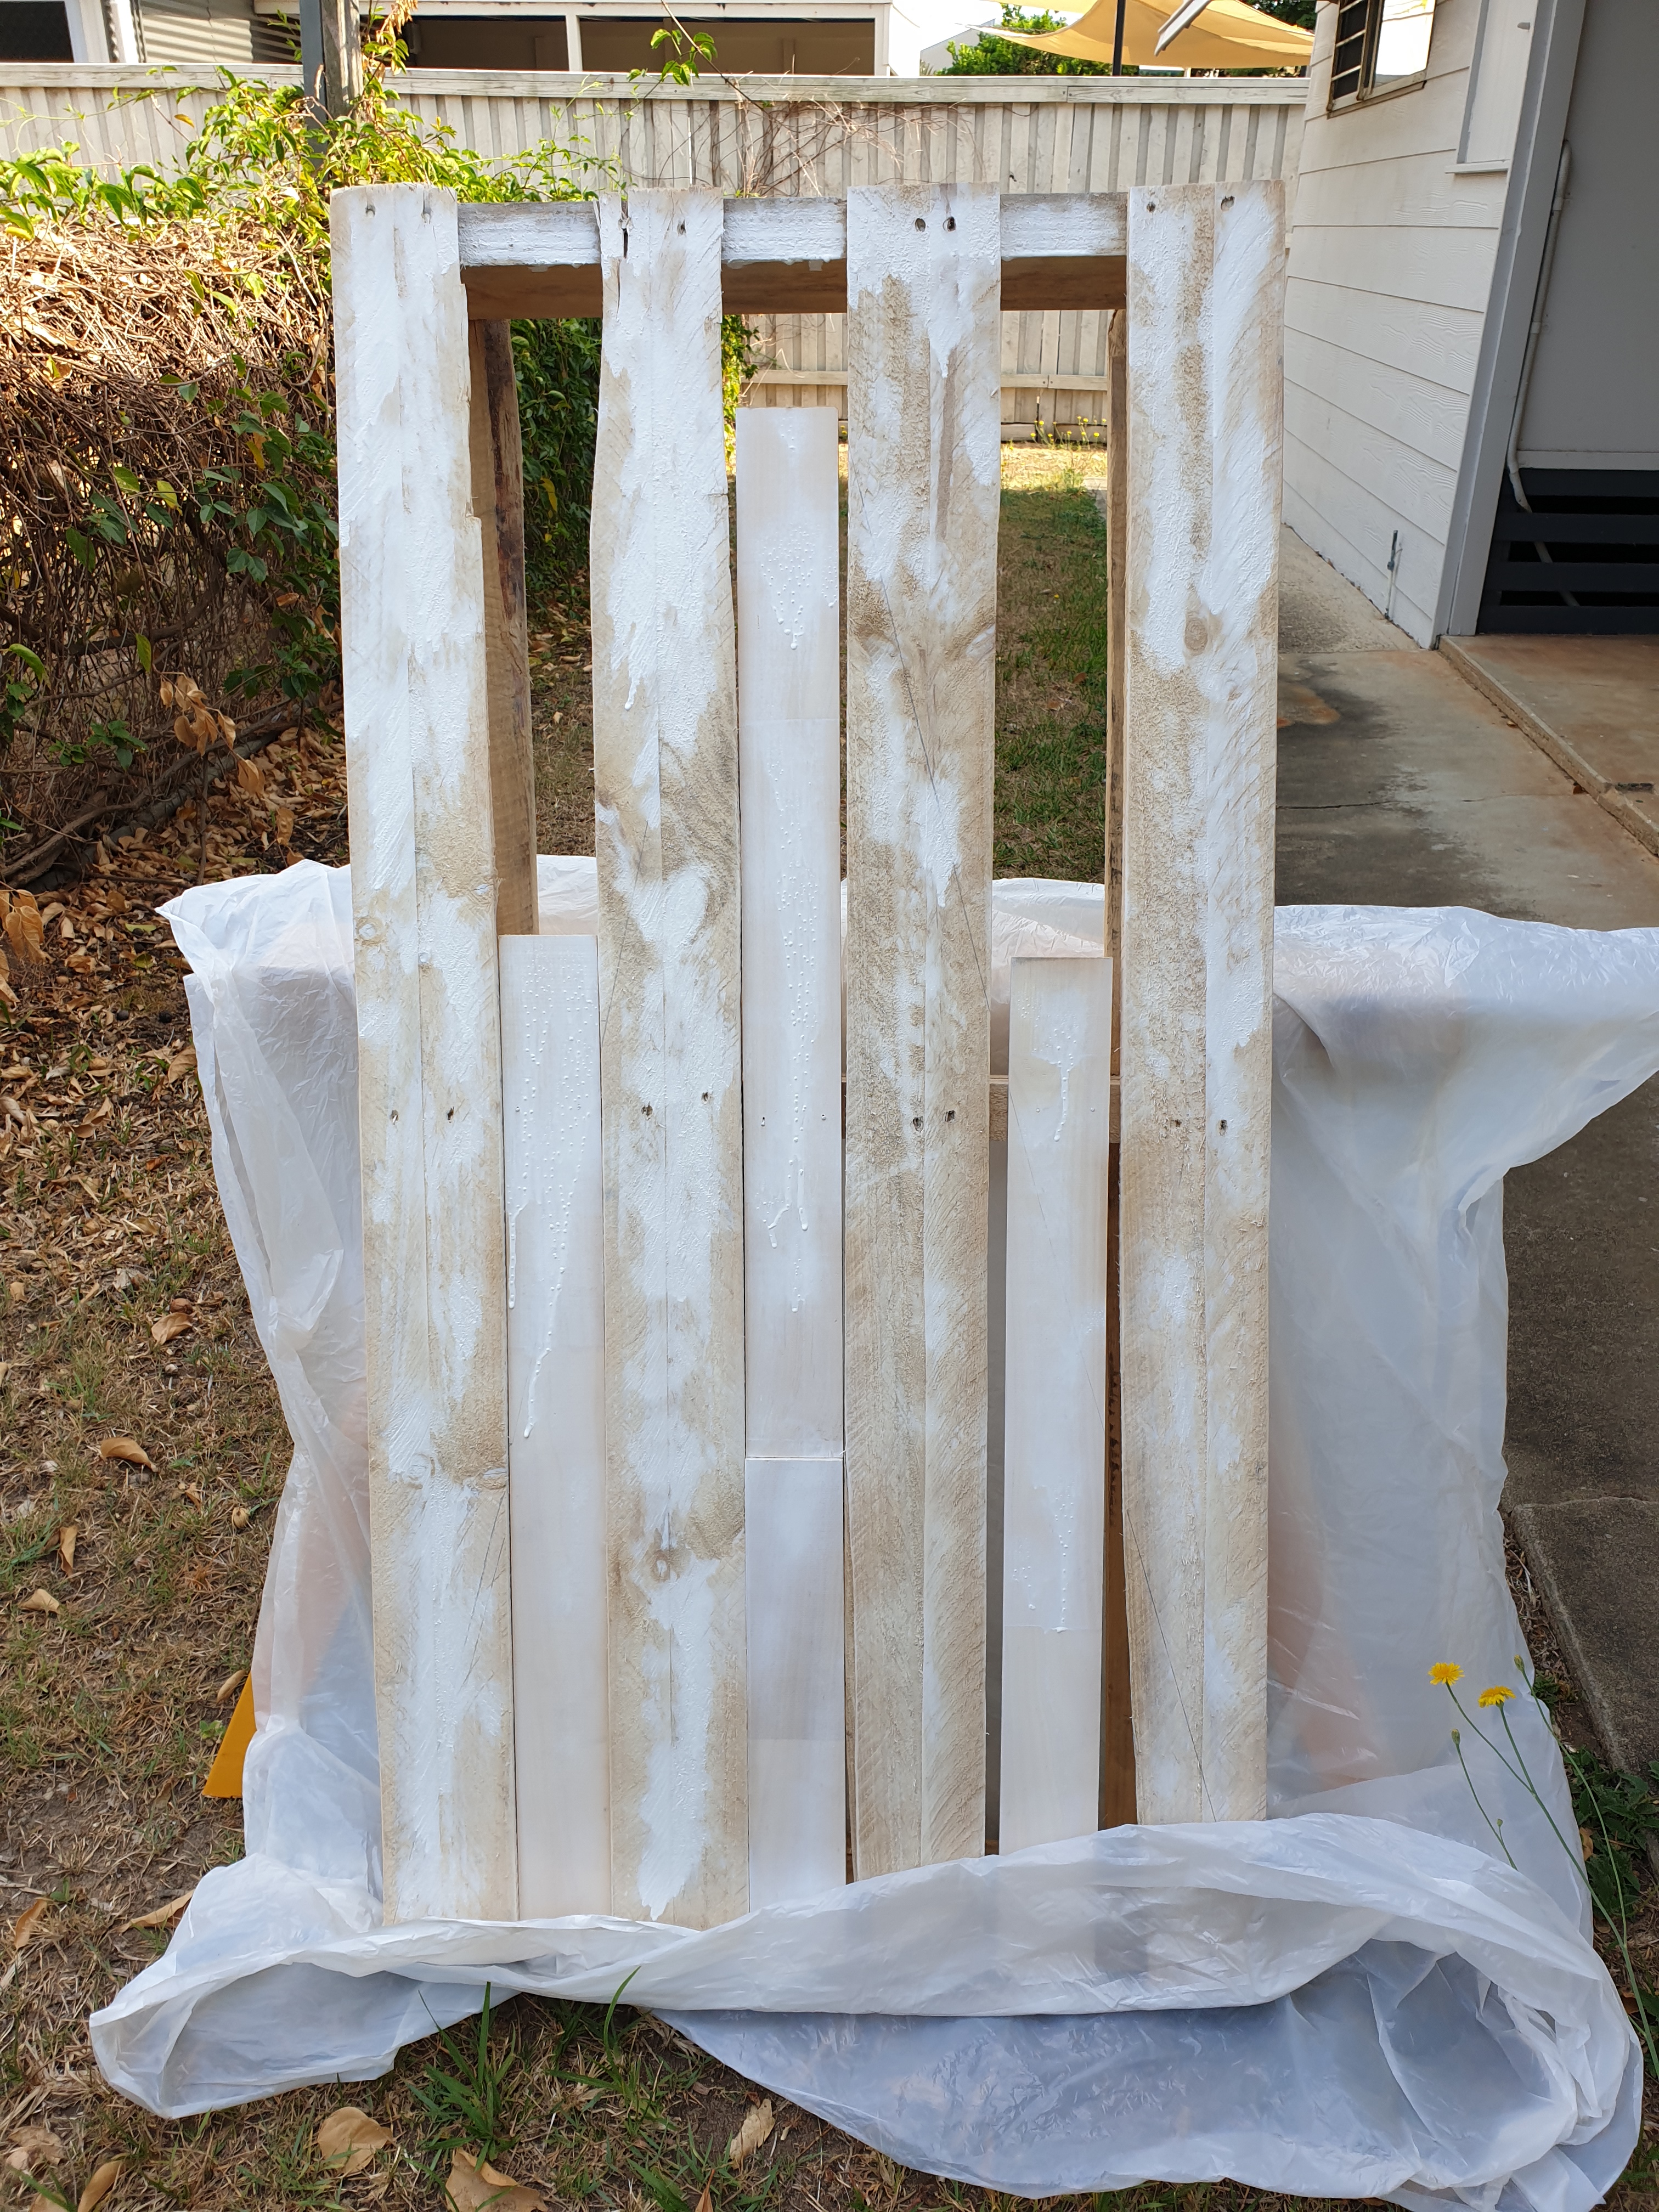
- Clean the wooden pallet and sand especially the edges and surfaces to remove any splinters and smoothen the surface for an easier coat of pain. Just be careful to not get any splinters into your fingers (ideally use gloves).
- Clean again after sanding, you want to get rid of the fine dust before painting.
- (I had to add a few pieces of scrap wood which I nailed into the main structure as the pallet had wide spaces between each part.)

- I painted the whole pallet white first and let it dry as per the paint instructions. A nice wood varnish would also look great depending on what style you prefer.
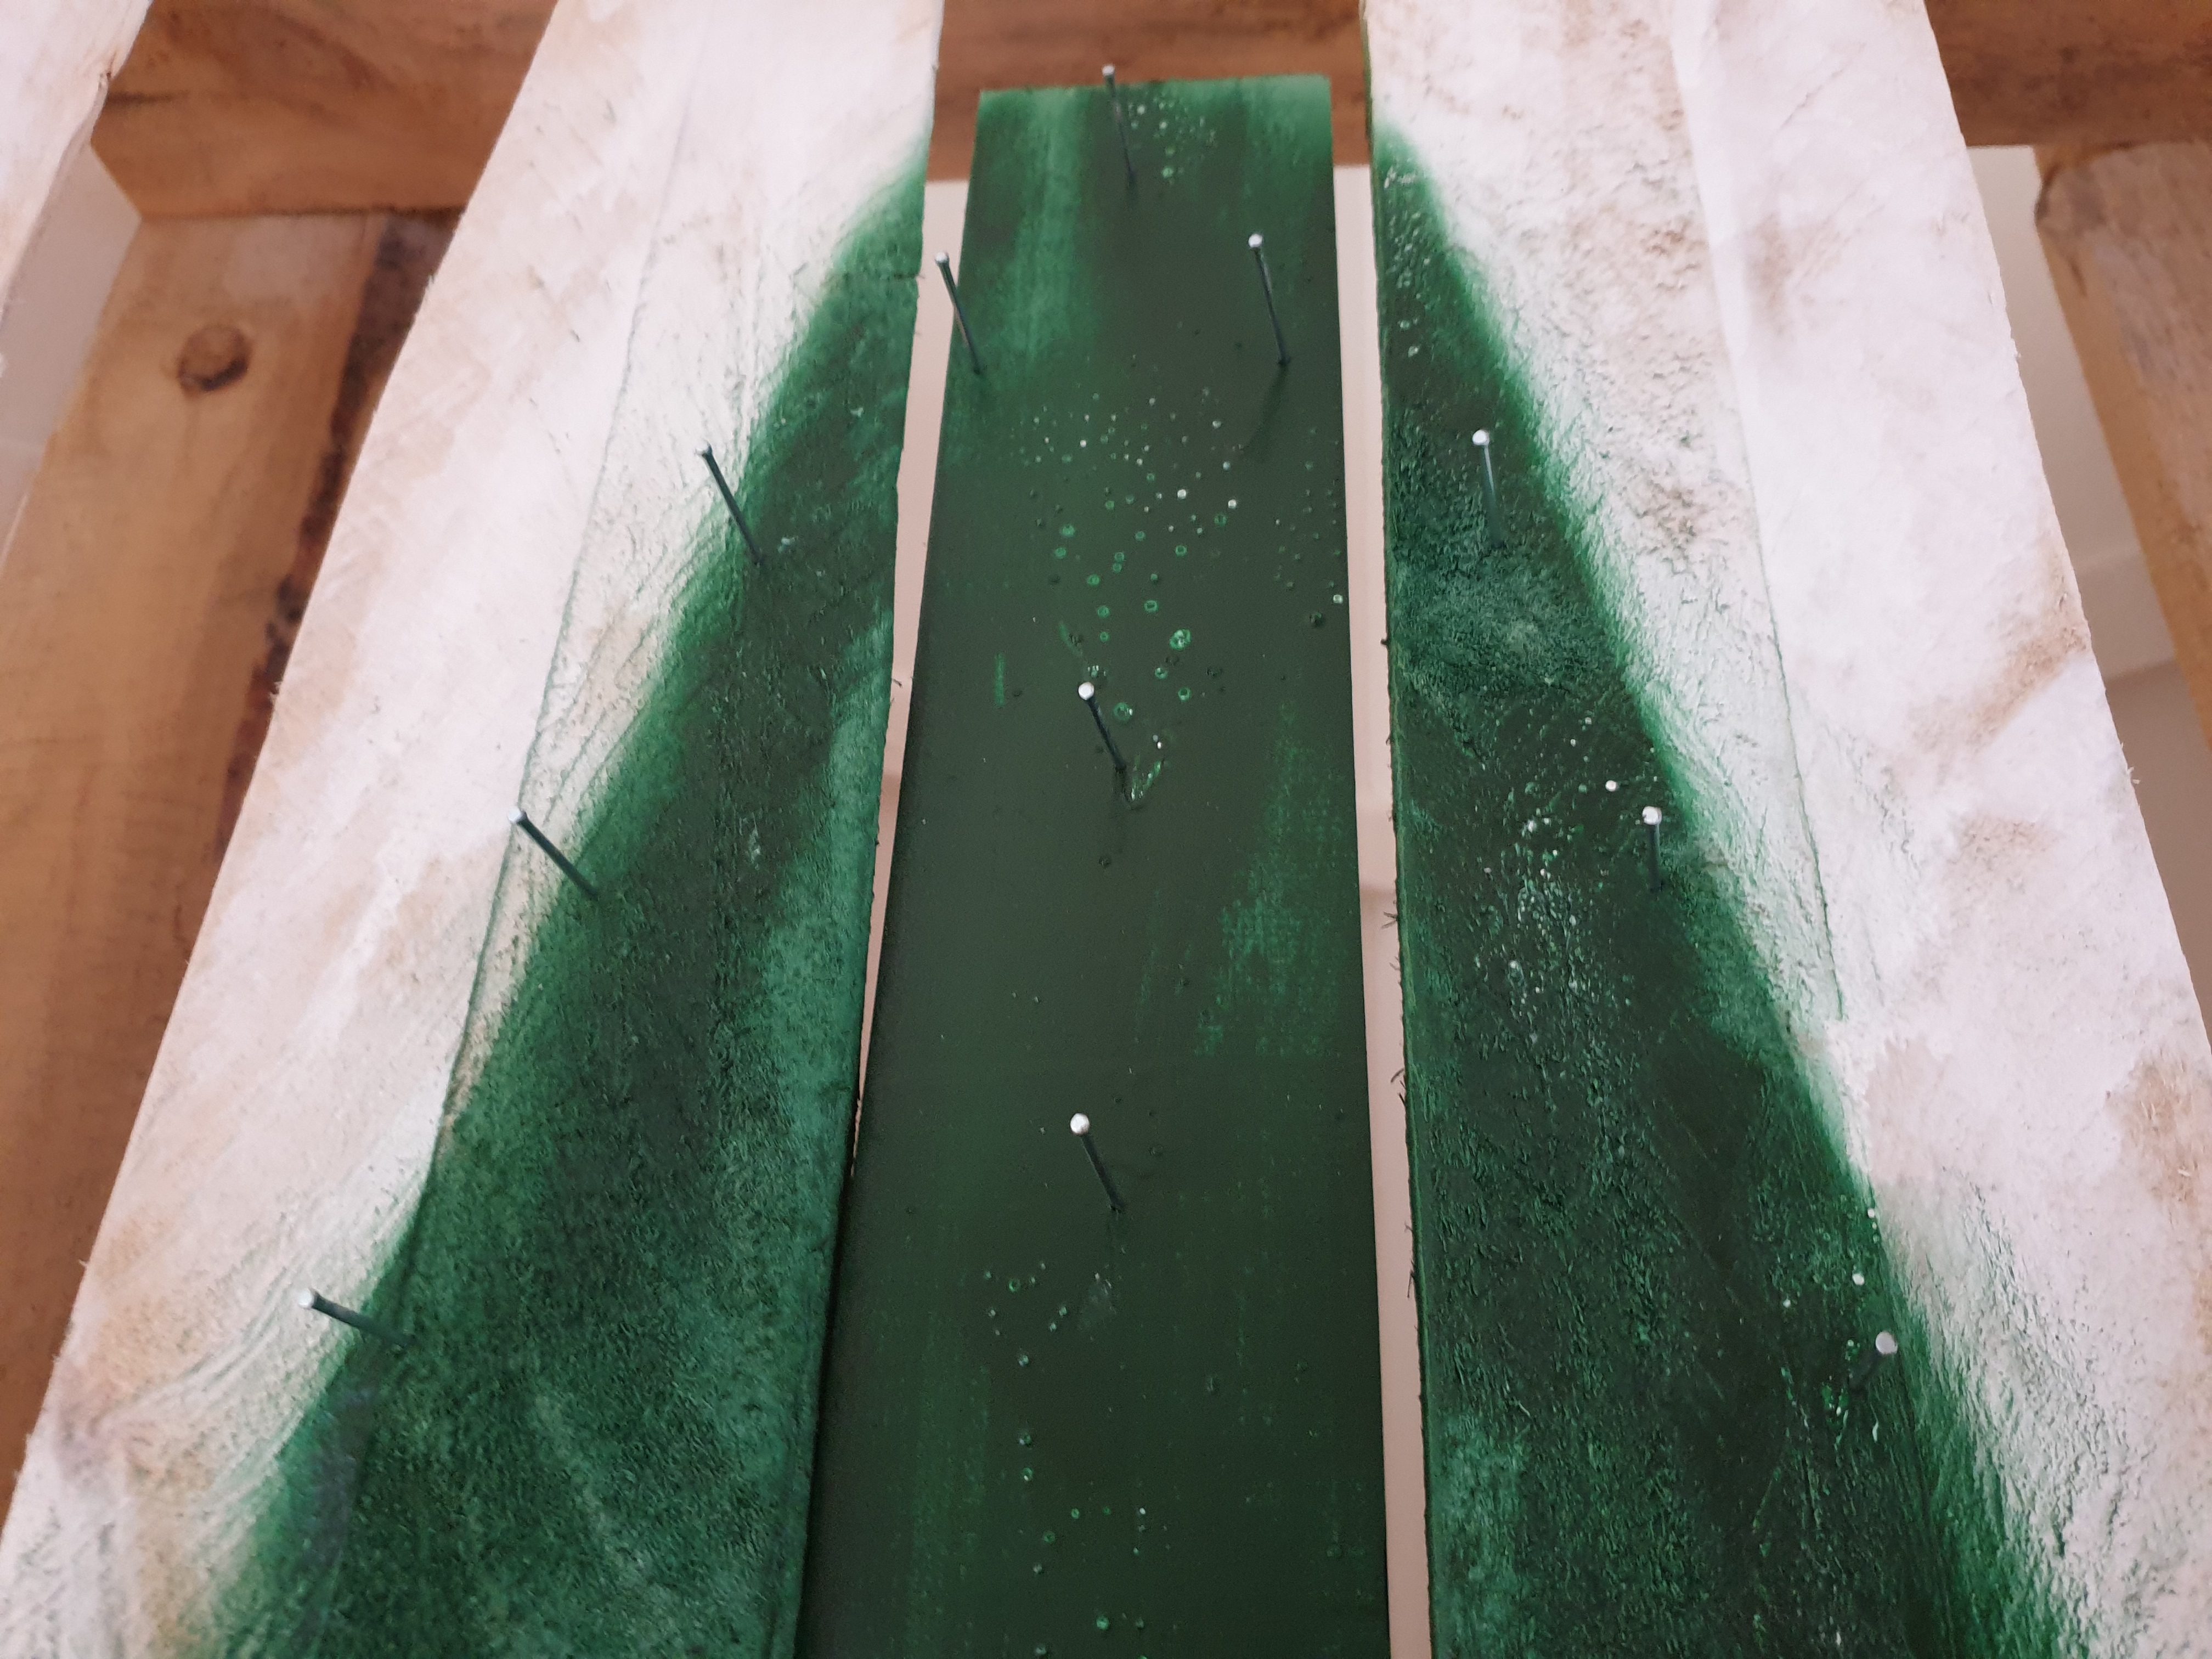
- With a pencil I marked the outline of the tree – just a simple triangle did it for me. (Depending on what type of pallet you have, best is to have the pieces of wood horizontal as it gives it your DIY project more of a real tree feel, but hey, it works the other way, too.)
- I then painted the tree on with the green paint and let it dry. (Keep the painted pallet outside until the paint smell has vanished.)

- Now take the nails (this is for you to hang your decorations on) and spread them across the tree as you like. I kept it (mostly) symmetrical, going along the outer edges first and then filling in the inner space, leaving enough space so ornaments are easy to hang. (Nails with a head come in handy as the ornaments are less likely to fall off.)
- Hammer in the nails (make sure you don’t hammer them in too deep, I left about 1 cm plus for the decorations) and your DIY Pallet Christmas Tree is ready.


All in all this shouldn’t take you more than 1 hour plus paint dry time. It’s a really easy DIY project and the outcome is stunning. Such a great and easy DIY Pallet Christmas Tree project!
Now tha t all my decorations and sparkling lights are up (nothing new here, I have had them all for years), it looks like a real Christmas tree and gives our living room the right festive feel. I am very happy with this little DIY project and am hoping that you will get some inspiration from it.
Share your Christmas DIY projects. What Christmas decorations are you making yourself this year?

One Comment Add yours